| Author |
Message |
JoeReal
Site Admin


Joined: 16 Nov 2005
Posts: 4726
Location: Davis, California
|
| Posted: Tue 13 May, 2008 2:24 am |
|
Effective Bird Scare Setup
This article's for the birds, NOT! I've had big problems with the birds, being the one with the most fruits year round in the entire city, I have been marked as an oasis for the birds. I have been partially successful in the past year, and this year, after careful planning, the results are encouraging. I achieved 100% effectivity against bird damage on my cherries. So I want to share how I've done this. I've been planning my scheme the whole winter, and finally got time to implement them just when my first cherries started to change color.
Here's how I designed the best bird deterrent setup yet. I've tried ballons, I've tried CD's, red eyes, black eyes on cardboards, spirals, and I still have some bird damage. I don't particularly like nets as they're hard to drape over especially if you have big trees. The reflective spirals and bird scare tape have worked the best for me, but they are so hard to hang, move around or remove after the harvest season. So I thought up of something that is easily assembled and disassembled, lightweight and can be moved from tree to tree especially if you have different harvest dates, easily configurable depending on your tree structure, don't need to climb the tree to set it up, multi-season reusable and when put away will not occupy a lot of space.
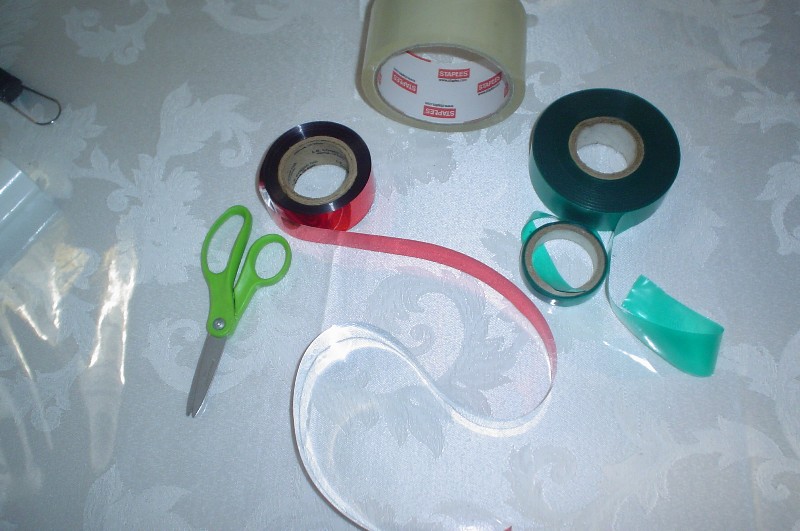
Tools and Materials:
By joereal at 2008-05-12
You would need the following: Scotch tape, bird scare tape, scissors, garden tie, yardstick (not shown). The most important component here is the bird scare tape made of reflective ribbon which is chrome on one side and metallic red on the other side. You can sometimes get them from Home Depot or OSH if the person handling the landscape department is knowledgeable. Otherwise, you can order this online from:
http://orchardvalleysupply.com/ovsstore/pc/viewPrd.asp?idcategory=75&idproduct=149 |
|
| Back to top |
|
 |
JoeReal
Site Admin
Joined: 16 Nov 2005
Posts: 4726
Location: Davis, California
|
| Posted: Tue 13 May, 2008 2:24 am |
|
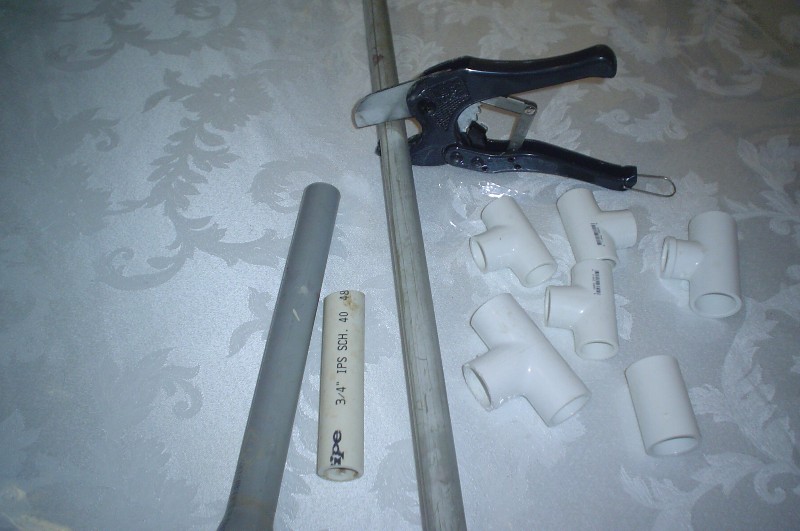
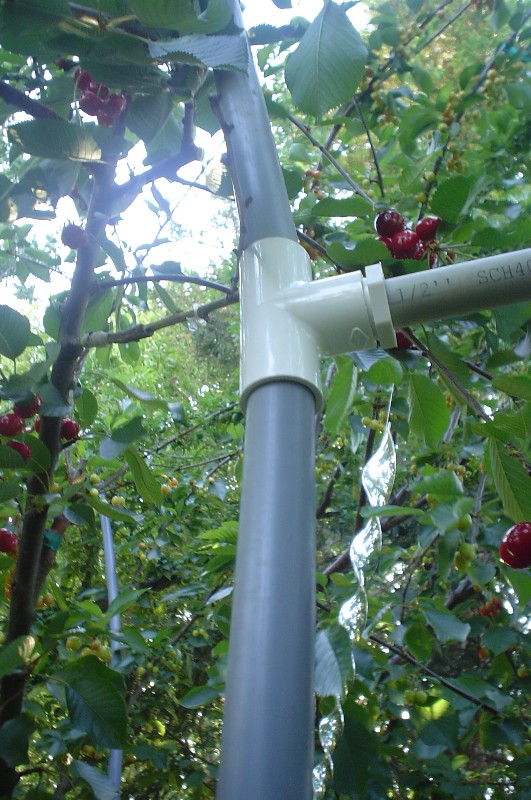
You would need several feet of 3/4" Schedule 40 pipes as your main "trunk" and several lightweight 1/2" schedule 200 pipes as our lateral banner pipes, a few 3/4 x 3/4 x 1/2 pipe slip fittings, and the most important is the pipe cutter. You can cut pipes easily and very neatly with a pipe cutter.
By joereal at 2008-05-12 |
|
| Back to top |
|
|
JoeReal
Site Admin
Joined: 16 Nov 2005
Posts: 4726
Location: Davis, California
|
| Posted: Tue 13 May, 2008 2:24 am |
|
Measure and cut-off 6 feet of bird scare tape, and then use it as a template to cut at least 30 pcs of 6 ft length sections. A roll of bird scare tape is 500 feet, so you'll have plenty. You cut as many as you would like to use.

By joereal at 2008-05-12 |
|
| Back to top |
|
|
JoeReal
Site Admin
Joined: 16 Nov 2005
Posts: 4726
Location: Davis, California
|
| Posted: Tue 13 May, 2008 2:24 am |
|
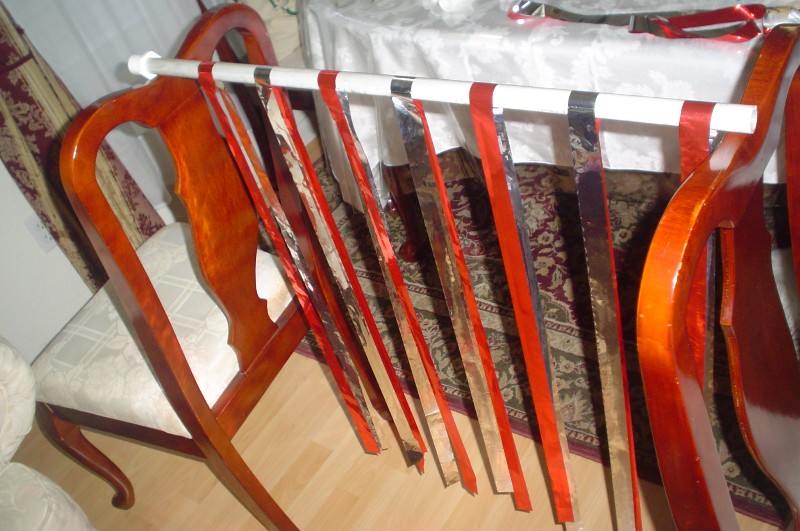
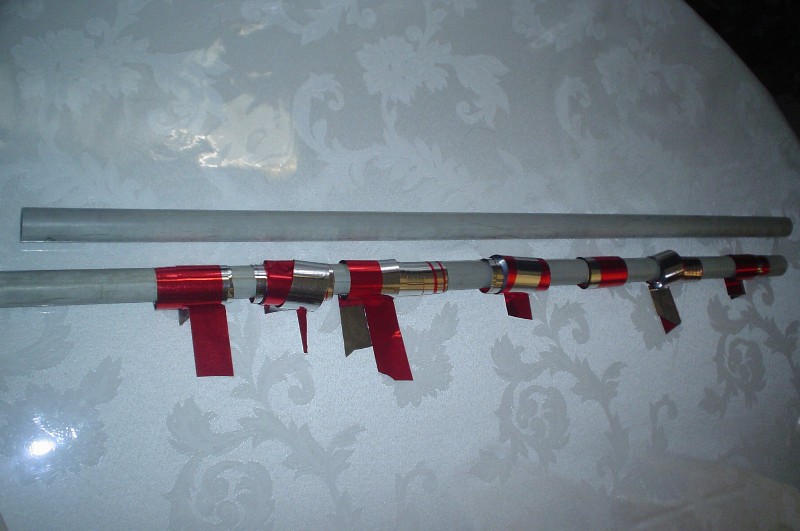
With the pipe cutter, cut the 1/2" pipe into 3 ft lengths laterals, place between two chairs, and hang your bird scare tapes as shown. Notice that the bird scare tapes are 4" apart, alternating the chrome and red exposures. Tape them in place with a scotch tape after laying them out. The spacing between tapes are approximate, and I found the 4" spacing to be quite effective. Make several of these as you would like.
By joereal at 2008-05-12
By joereal at 2008-05-12 |
|
| Back to top |
|
|
JoeReal
Site Admin
Joined: 16 Nov 2005
Posts: 4726
Location: Davis, California
|
| Posted: Tue 13 May, 2008 2:25 am |
|
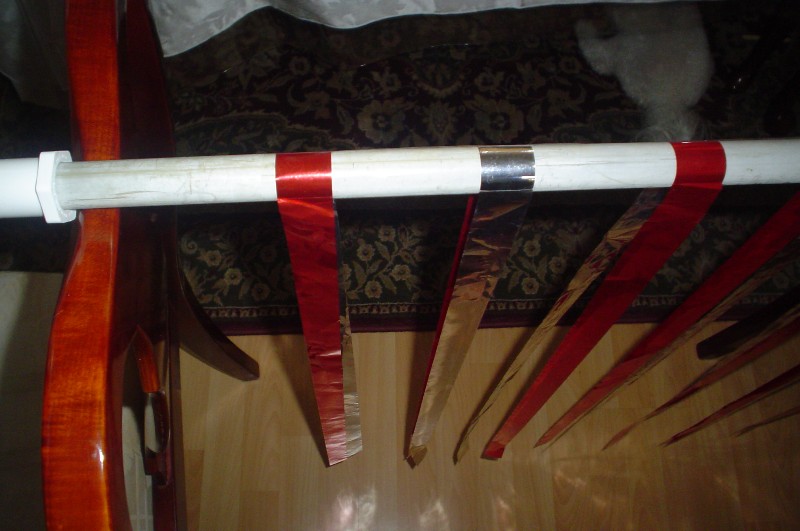
You can cut sections of 3/4" PVC pipes as you go, and assemble them together like lego blocks using the pipe fittings. Do not glue the pipe fittings, as you would need to dismantle them later, or reconfigure depending on your tree.
By joereal at 2008-05-12
I have attached the wavy banners of bird scare tape and send them up the tree.
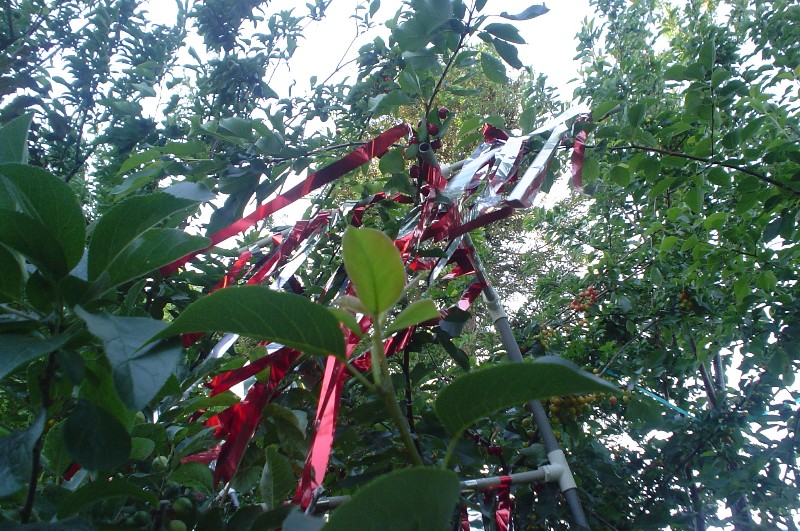
By joereal at 2008-05-12
I add more sections and send continually pile them from the bottom pushing the first ones up.
By joereal at 2008-05-12
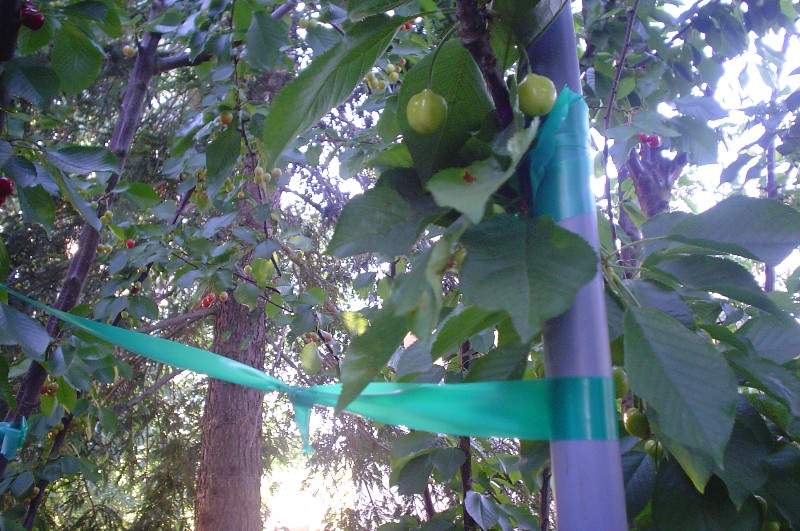
And up to desired height, right near where the fruits are. Place the tape banners where most of them will wave freey in the air.
By joereal at 2008-05-12
Attach the main PVC pipe of appropriate length below and push the banners all the way to where you want them. Simply anchor the pipe using garden ties. Tie in at least three directions for stability.
By joereal at 2008-05-12 |
|
| Back to top |
|
|
JoeReal
Site Admin
Joined: 16 Nov 2005
Posts: 4726
Location: Davis, California
|
| Posted: Tue 13 May, 2008 2:25 am |
|
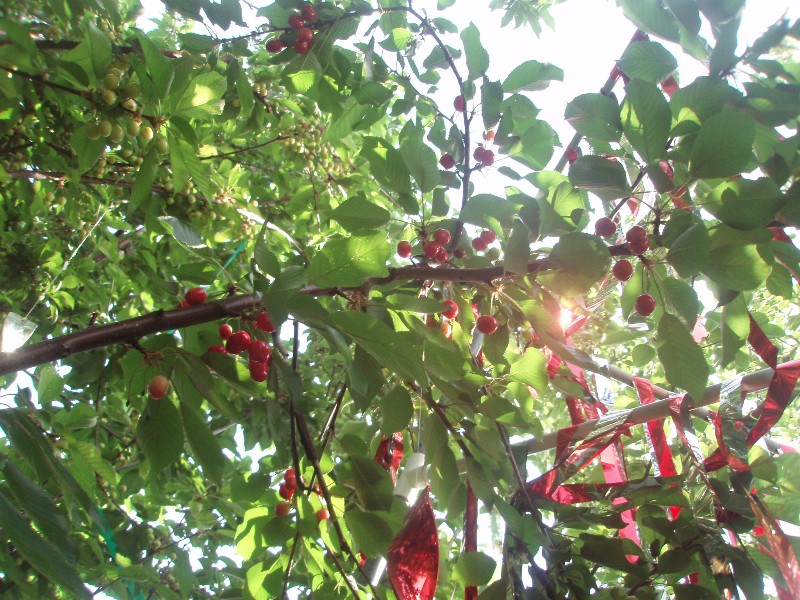
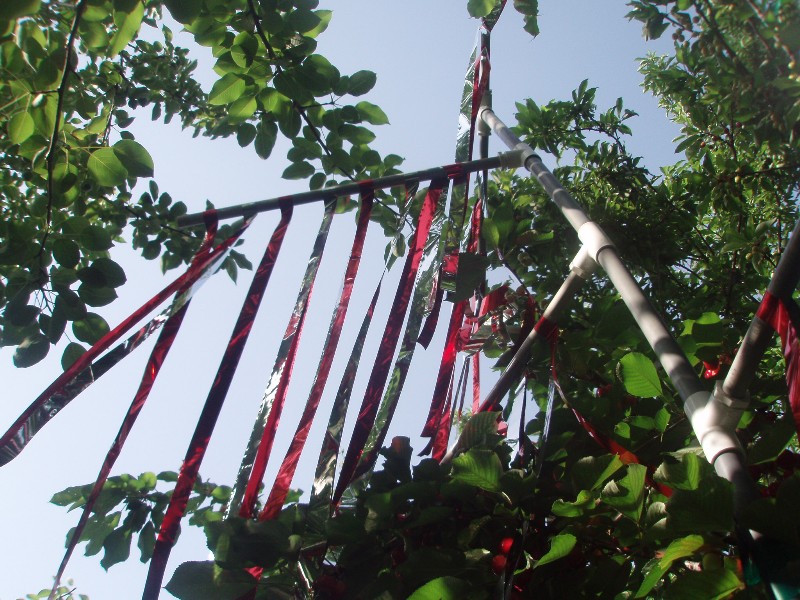
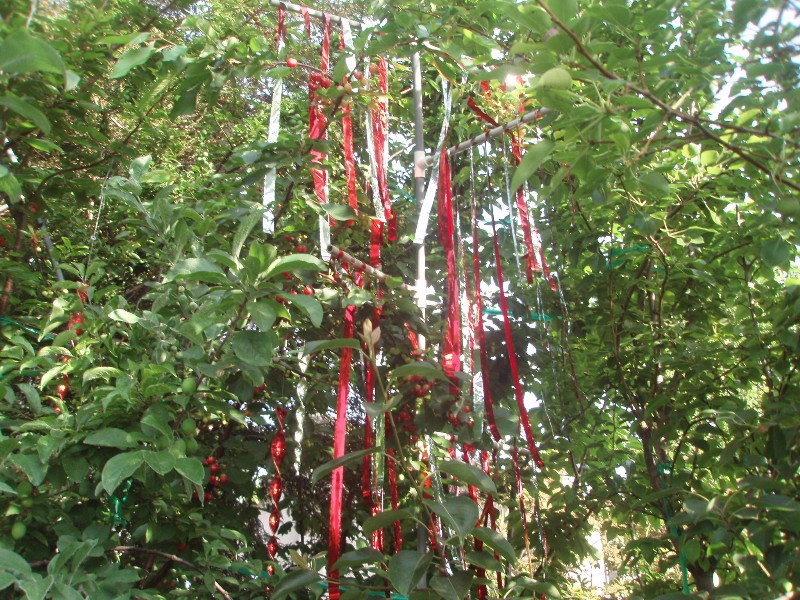
These bird scare tapes are fantastic when configured this way. At the slightest breeze, they flicker in the air, sometimes making crackling sound that would startle the birds. The tree would look like that it is on fire, from afar. The red sparkles alternating with chrome metallic reflections, and the crackling sounds, would create an illusion to a scouting bird that the tree is on fire. Sights and sounds, it scares them off. They don't come near the Cherry tree now. I used to cut the bird scare tapes and climb the tree to hang sections of them one by one. But now no more, I simply assemble them on PVC pipes and push the pipes up and then tie the pipes to the tree trunk or branches. I can also assemble the whole thing and simply carry it to any tree I want and tie the pipe to nearby trees. It is very lightweight and portable.
By joereal at 2008-05-12 |
|
| Back to top |
|
|
JoeReal
Site Admin
Joined: 16 Nov 2005
Posts: 4726
Location: Davis, California
|
| Posted: Tue 13 May, 2008 2:25 am |
|
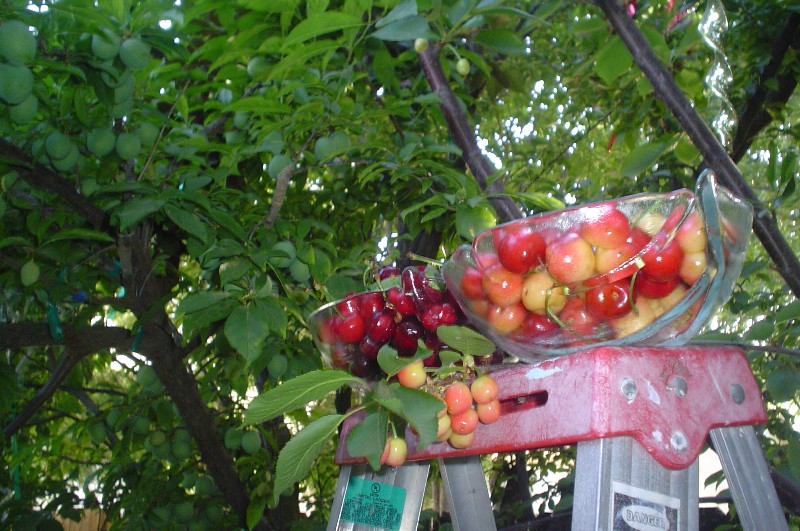
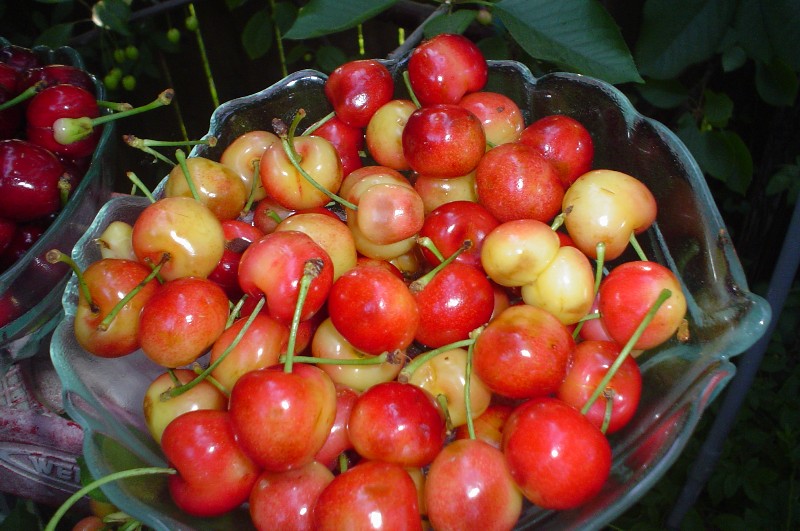
About a week after implenting my bird-brained scheme, for the first time, i've got undamaged cherries, free of bird bites. Here's today's harvest as evidence. I've really outmanuevered the pesky birds this time! Take note of the magnifying effect of the glass bowl, I wish my cherries were really that big as seen through the glass bowl, LOL!
By joereal at 2008-05-12 |
|
| Back to top |
|
|
JoeReal
Site Admin
Joined: 16 Nov 2005
Posts: 4726
Location: Davis, California
|
| Posted: Tue 13 May, 2008 2:26 am |
|
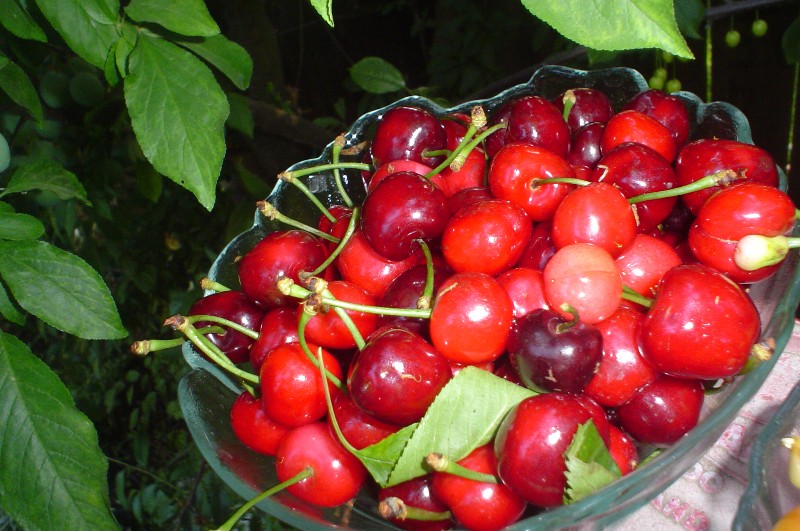
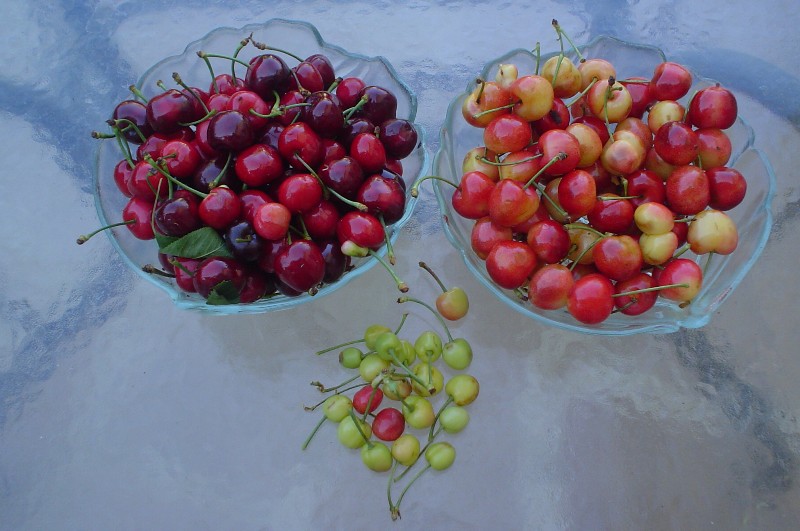
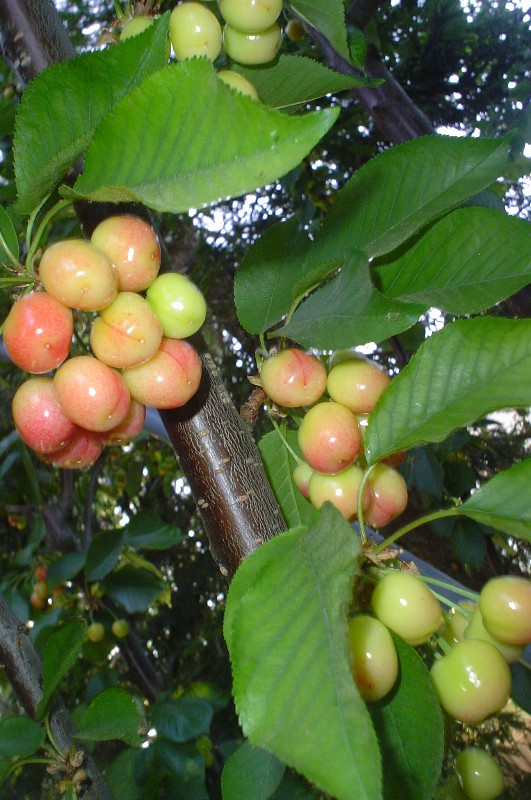
This one's Early Burlat, my earliest ripening cherry. They are usually the first ones attacked by the birds.
By joereal at 2008-05-12
And here's Royal Anne cherries. My Rainier cherries are bigger fruits than these, but they are not yet ready.
By joereal at 2008-05-12
And Royal Mistakes. Harvested accidentally or while not looking.
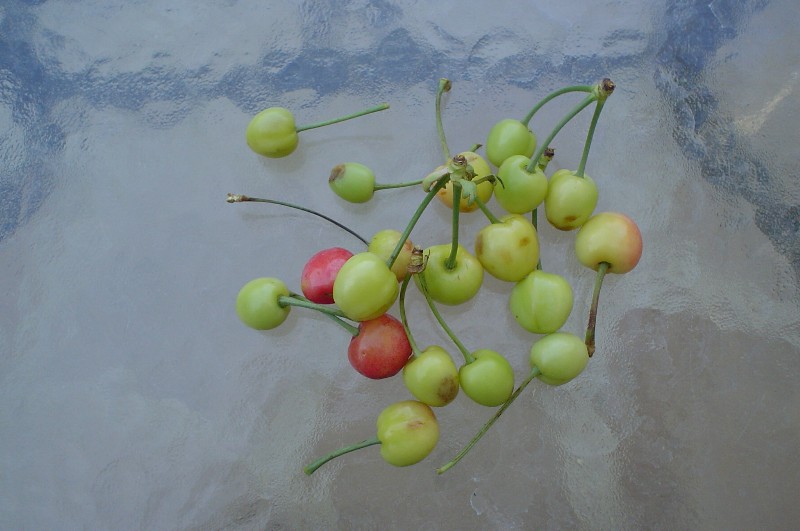
By joereal at 2008-05-12 |
|
| Back to top |
|
|
JoeReal
Site Admin
Joined: 16 Nov 2005
Posts: 4726
Location: Davis, California
|
| Posted: Tue 13 May, 2008 2:26 am |
|
Enjoy unblemished cherries, free of bird bites!
By joereal at 2008-05-12 |
|
| Back to top |
|
|
JoeReal
Site Admin
Joined: 16 Nov 2005
Posts: 4726
Location: Davis, California
|
| Posted: Tue 13 May, 2008 2:27 am |
|
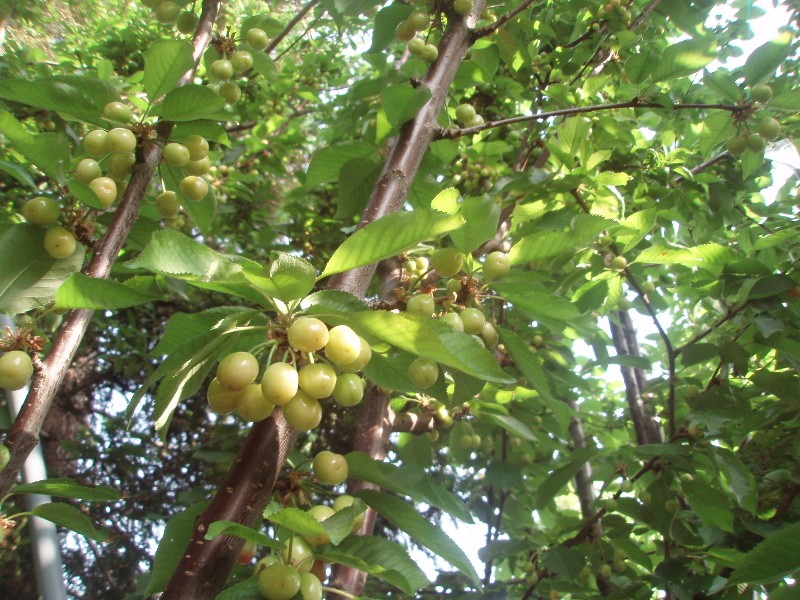
You can see that my first harvest is just the beginning of the season, I still have a lot more cultivars to go as shown, all grafted together in one tree. At the peak, many cultivars ripen at the same time, and I can fill up a 5 gallon pail easily.
By joereal at 2008-05-12 |
|
| Back to top |
|
|
JoeReal
Site Admin
Joined: 16 Nov 2005
Posts: 4726
Location: Davis, California
|
| Posted: Tue 13 May, 2008 2:27 am |
|
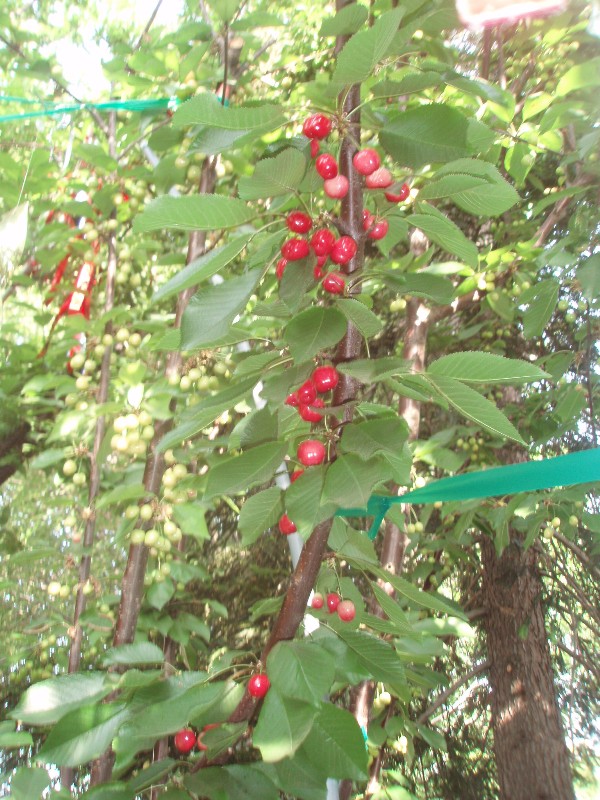
Here's my Merton Late, one of my late season cherries. They need to be almost dark red, approaching black color when they are at peak flavor.
By joereal at 2008-05-12
And this one perhaps 4 weeks more. It is going to grow bigger still.
By joereal at 2008-05-12 |
|
| Back to top |
|
|
JoeReal
Site Admin
Joined: 16 Nov 2005
Posts: 4726
Location: Davis, California
|
| Posted: Tue 13 May, 2008 2:27 am |
|
After the harvest of cherries, I simply move the whole thing to the next fruiting tree with ripening fruits. And when the seasons done, simply dismantle the setup, roll them and put away neatly, ready for next year. I intentionally did not mention the lengths of the 3/4" PVC pipes as it depends on your tree. With a pipe cutter, and several couplings, it is easy to assemble various lengths to match the height of your tree. It is up to you how you would configure it. This is just one way on how it could be done effectively.
By joereal at 2008-05-12 |
|
| Back to top |
|
|
bencelest
Citruholic

Joined: 13 Nov 2005
Posts: 1596
Location: Salinas, California
|
| Posted: Thu 22 May, 2008 4:37 am |
|
Ah! Very nice job Joe.
And I'm back. My cherry trees are beginning to turn color too. And those European plums I grafted last year have so many fruits they think they are grapes. But not ready yet.
I better be in a hurry to build your bird deterrent project. |
|
| Back to top |
|
|
bencelest
Citruholic
Joined: 13 Nov 2005
Posts: 1596
Location: Salinas, California
|
| Posted: Sun 25 May, 2008 2:54 am |
|
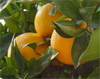
And here are the European plums that I was talking about.
This one is
 |
|
| Back to top |
|
|
bencelest
Citruholic
Joined: 13 Nov 2005
Posts: 1596
Location: Salinas, California
|
| Posted: Sun 25 May, 2008 2:57 am |
|
And another one. This one is ____? Septembre.
 |
|
| Back to top |
|
|